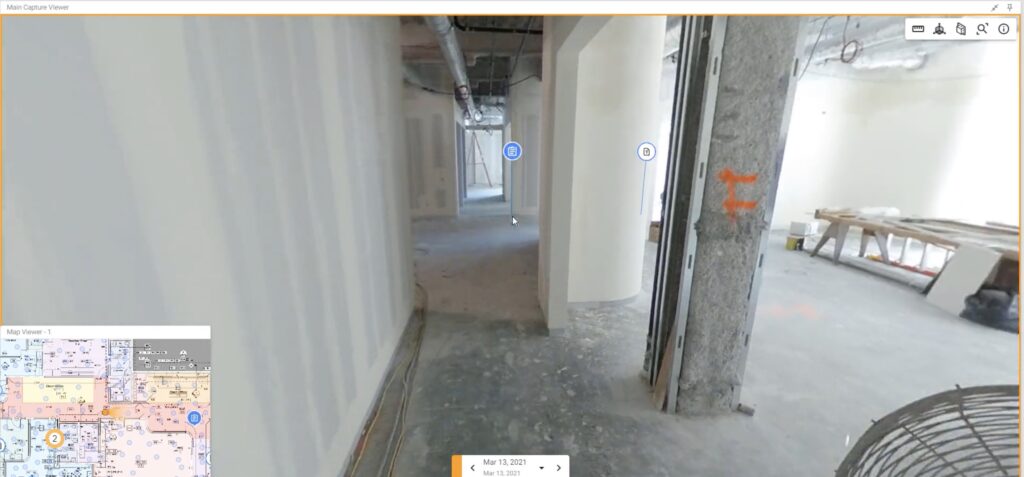
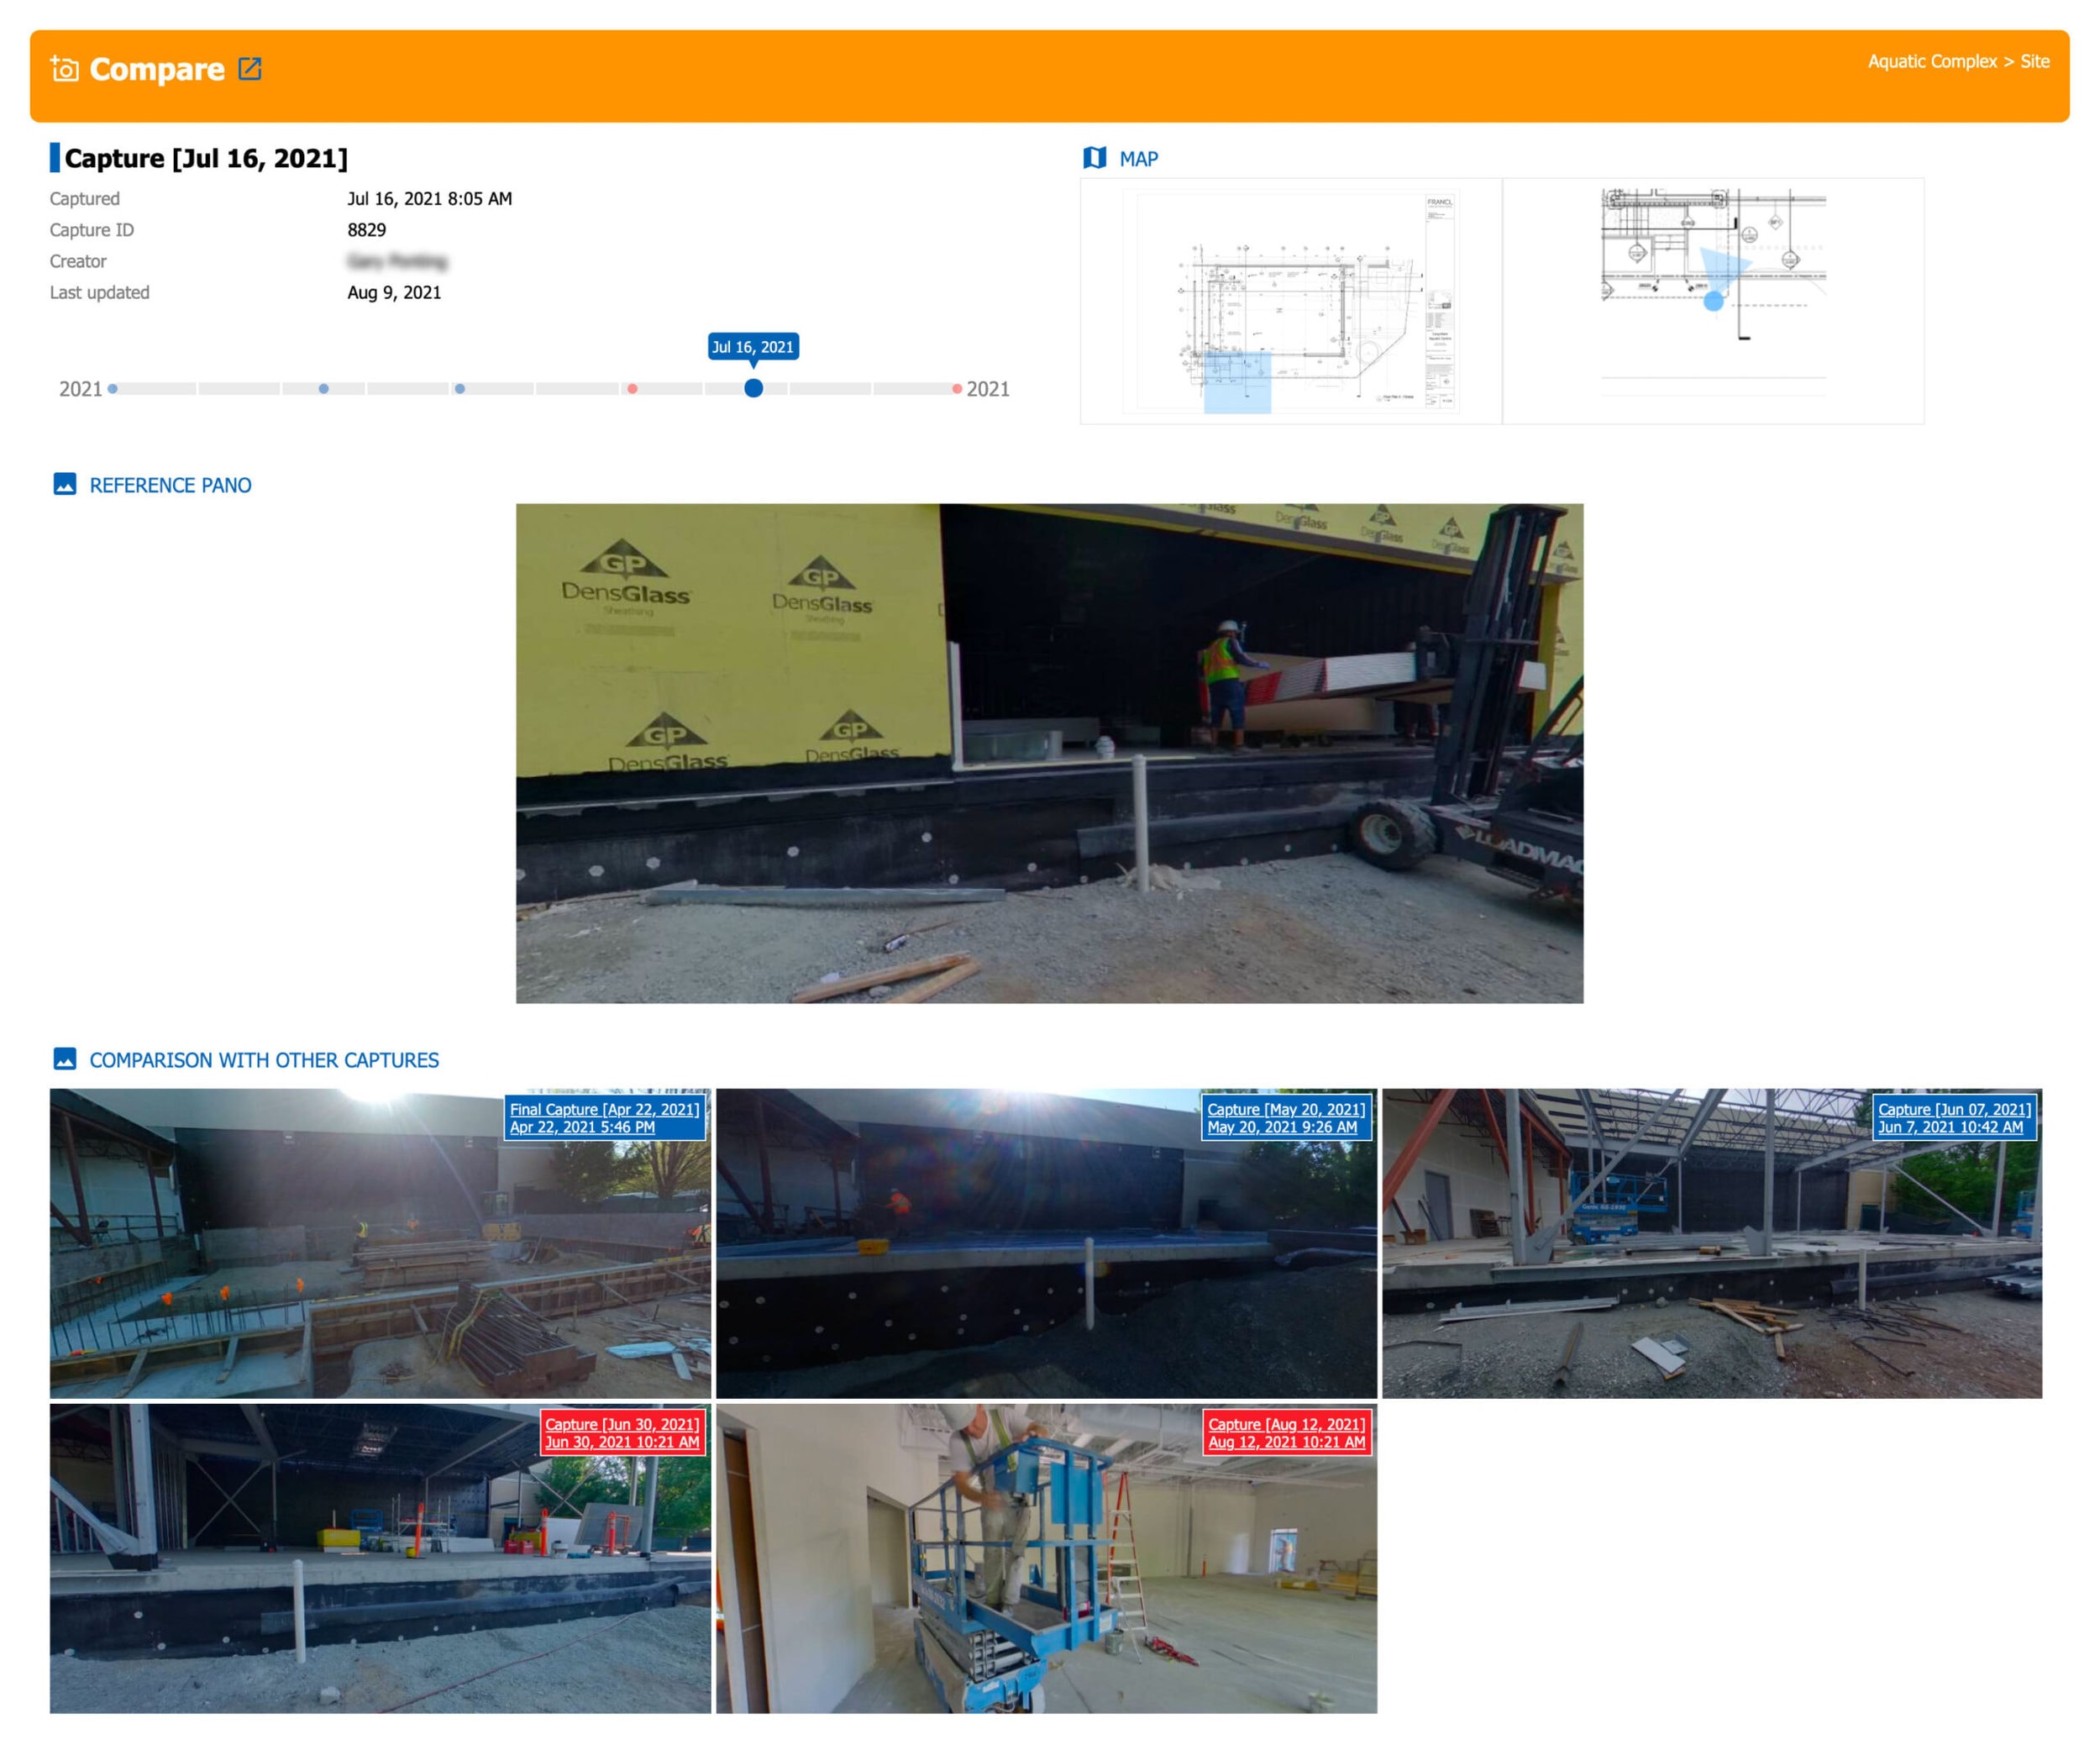
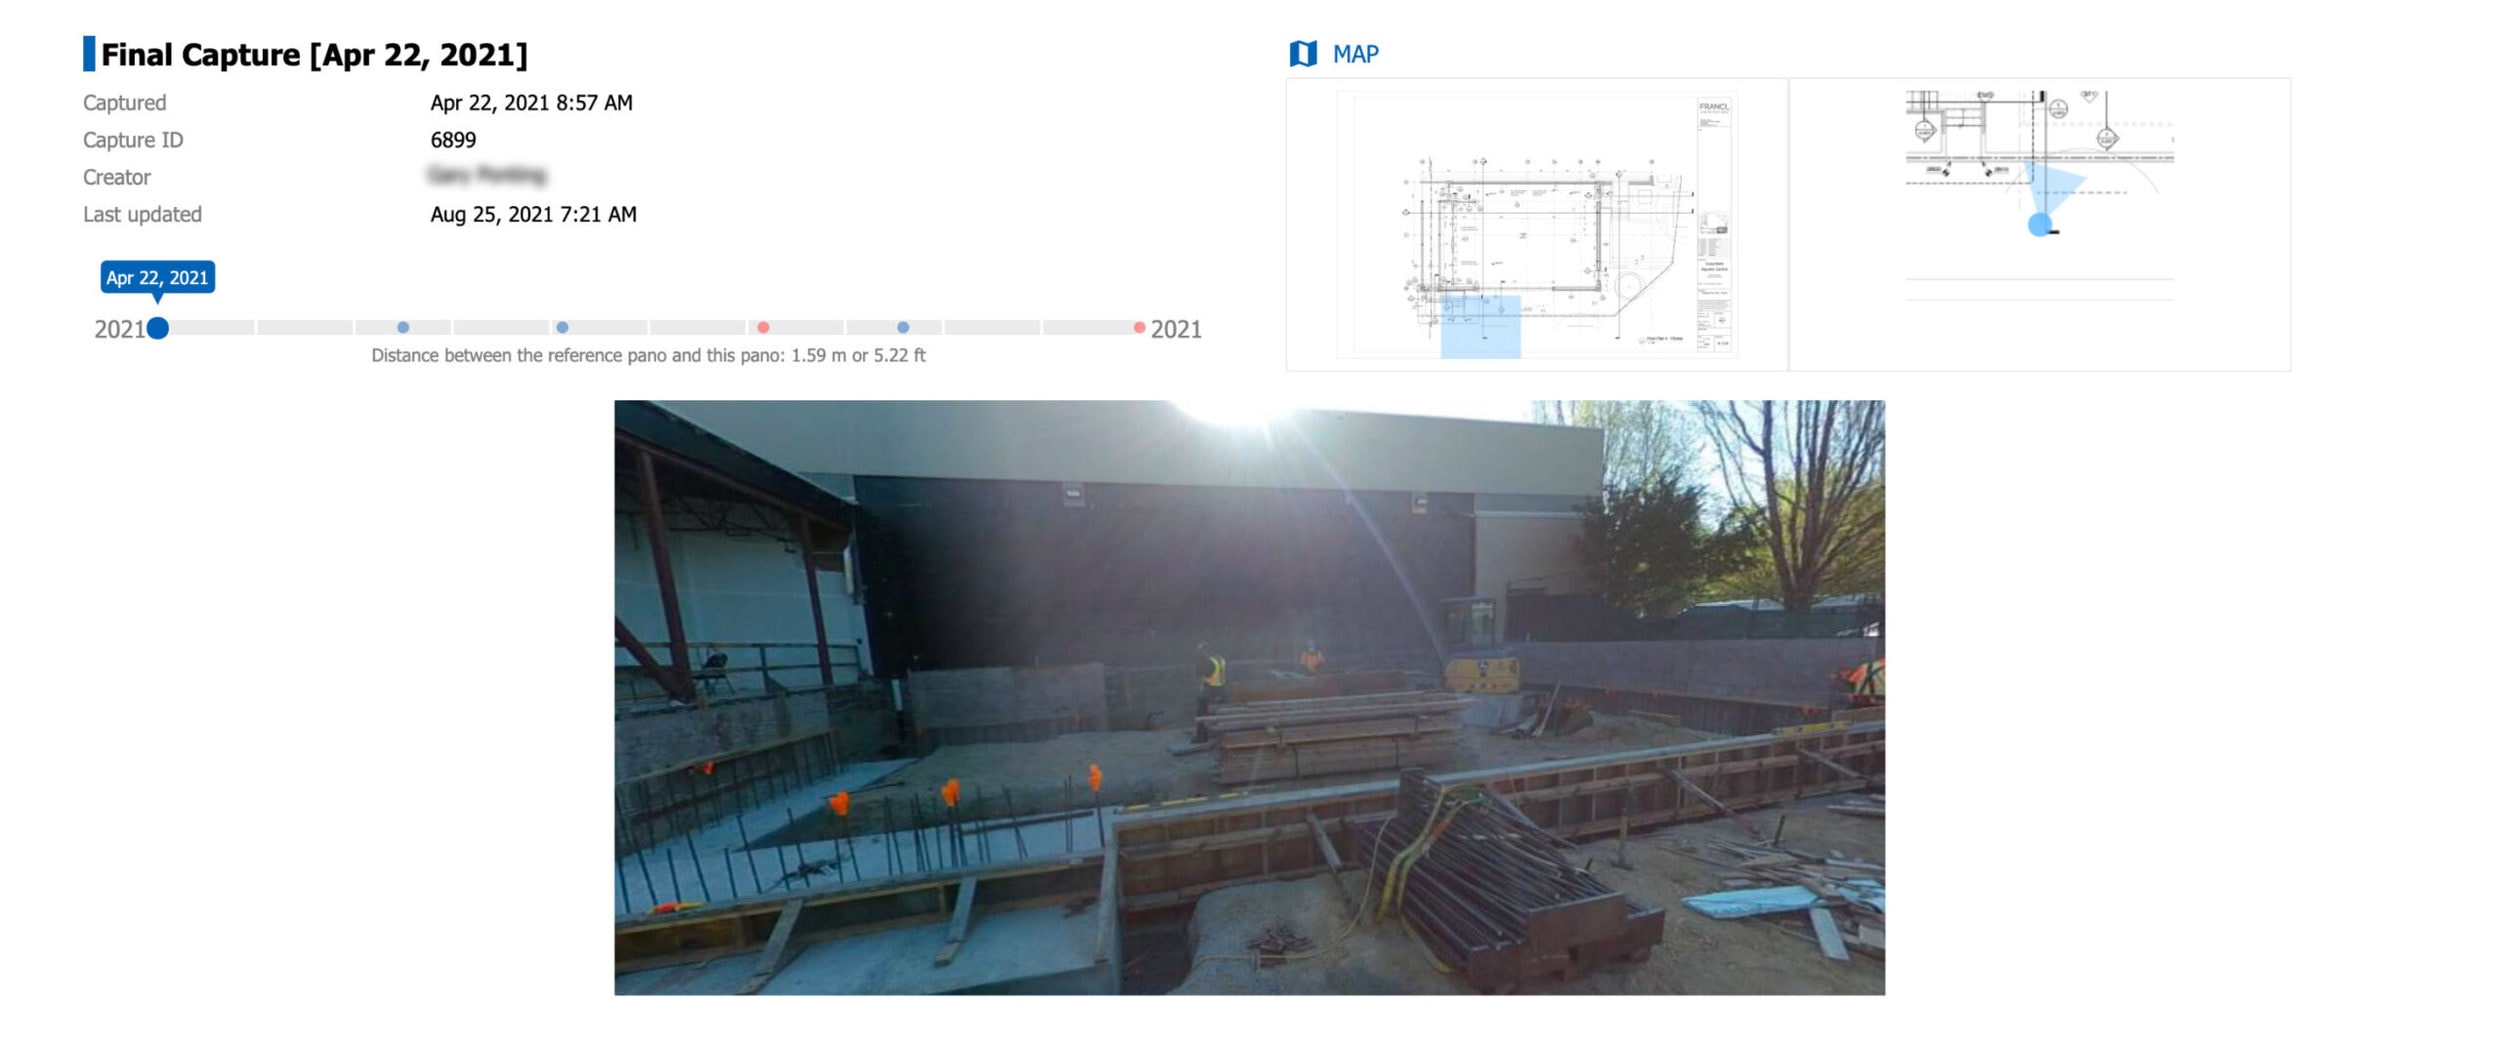
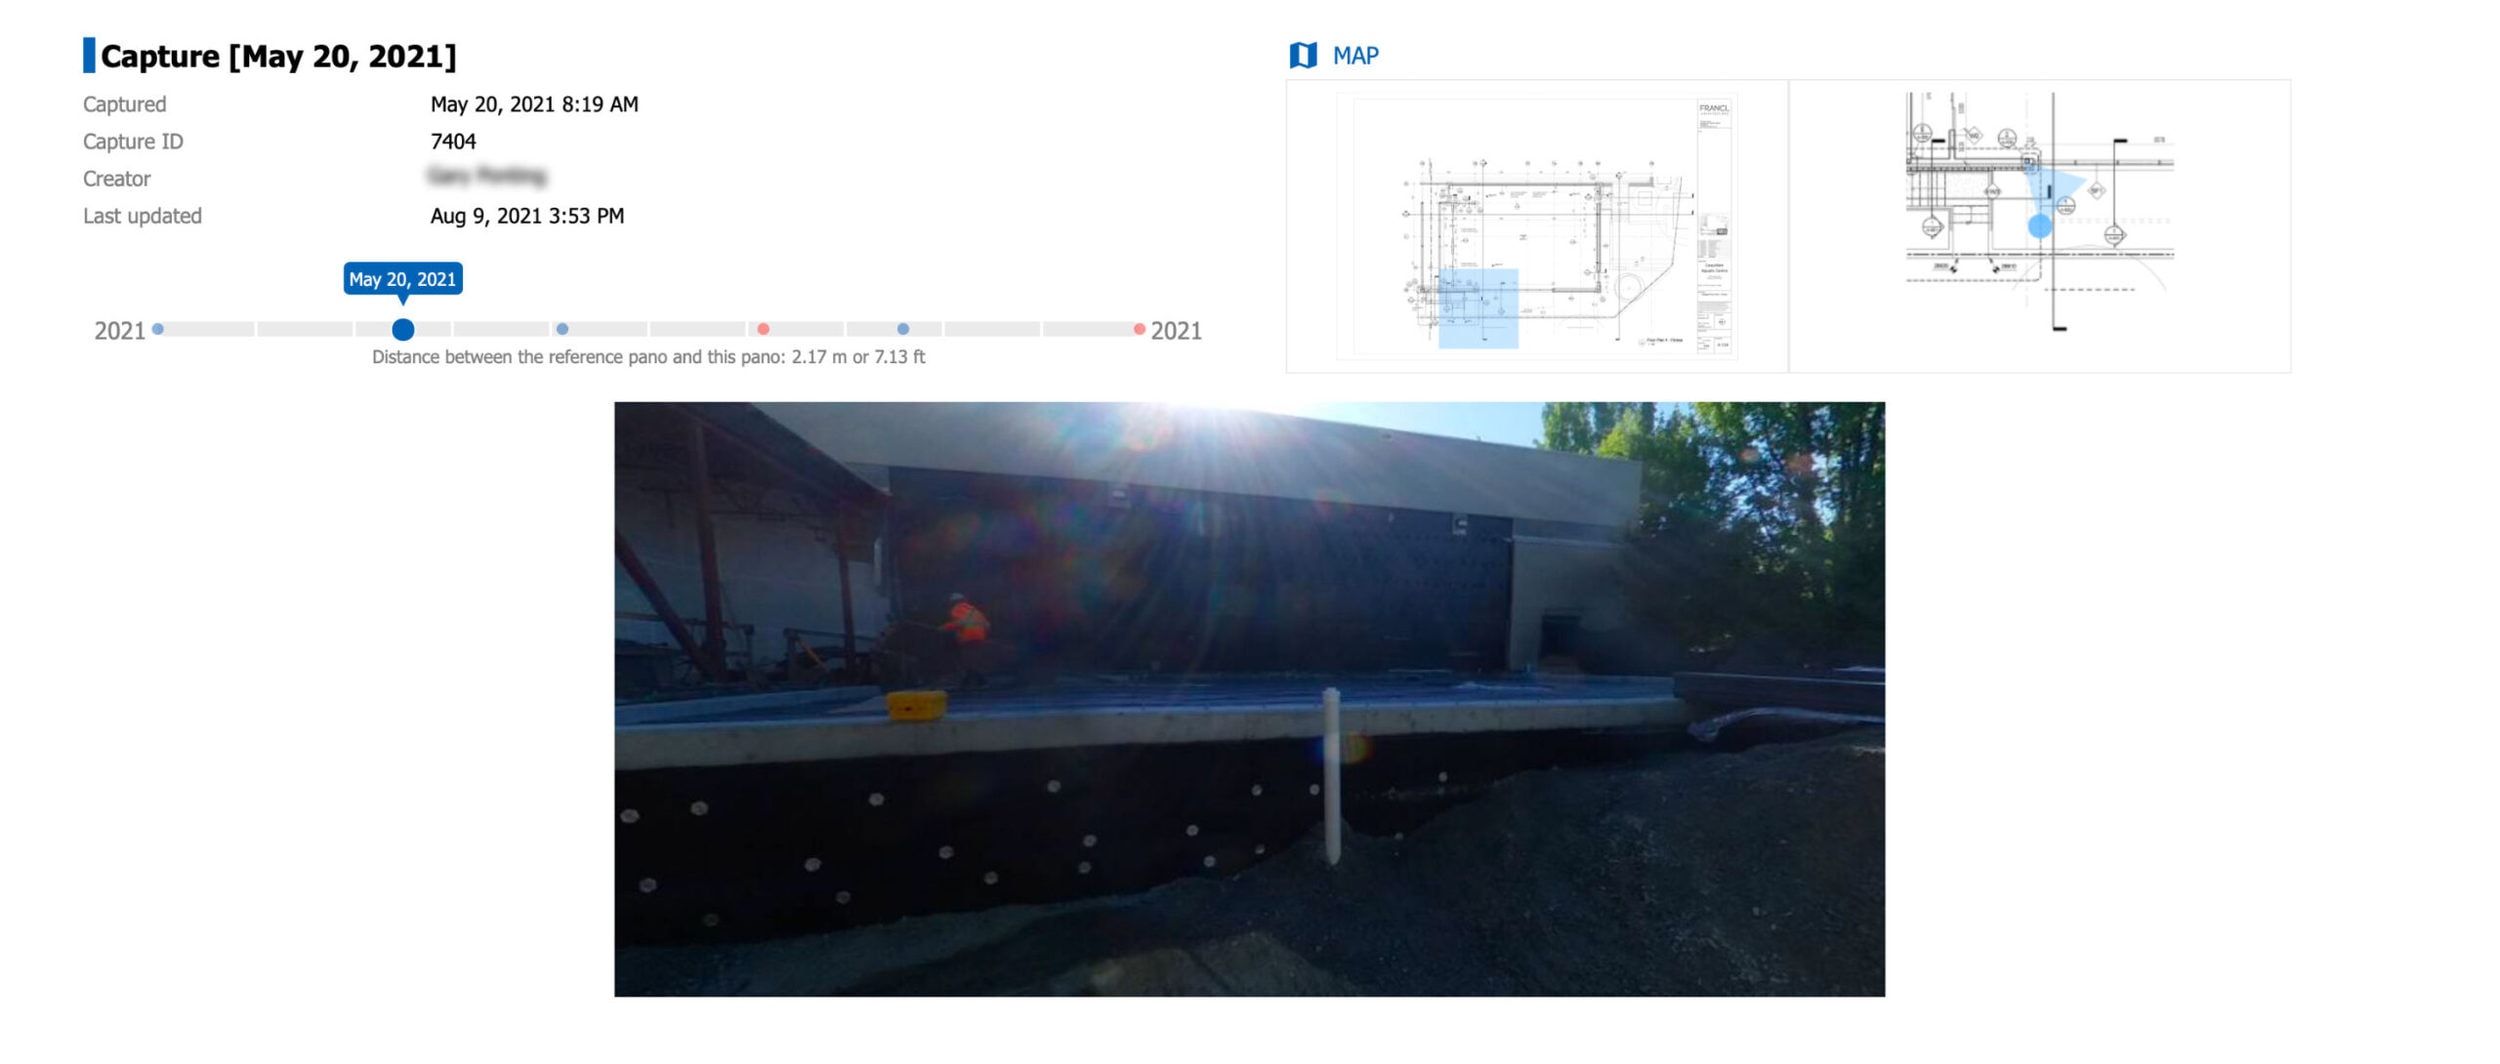
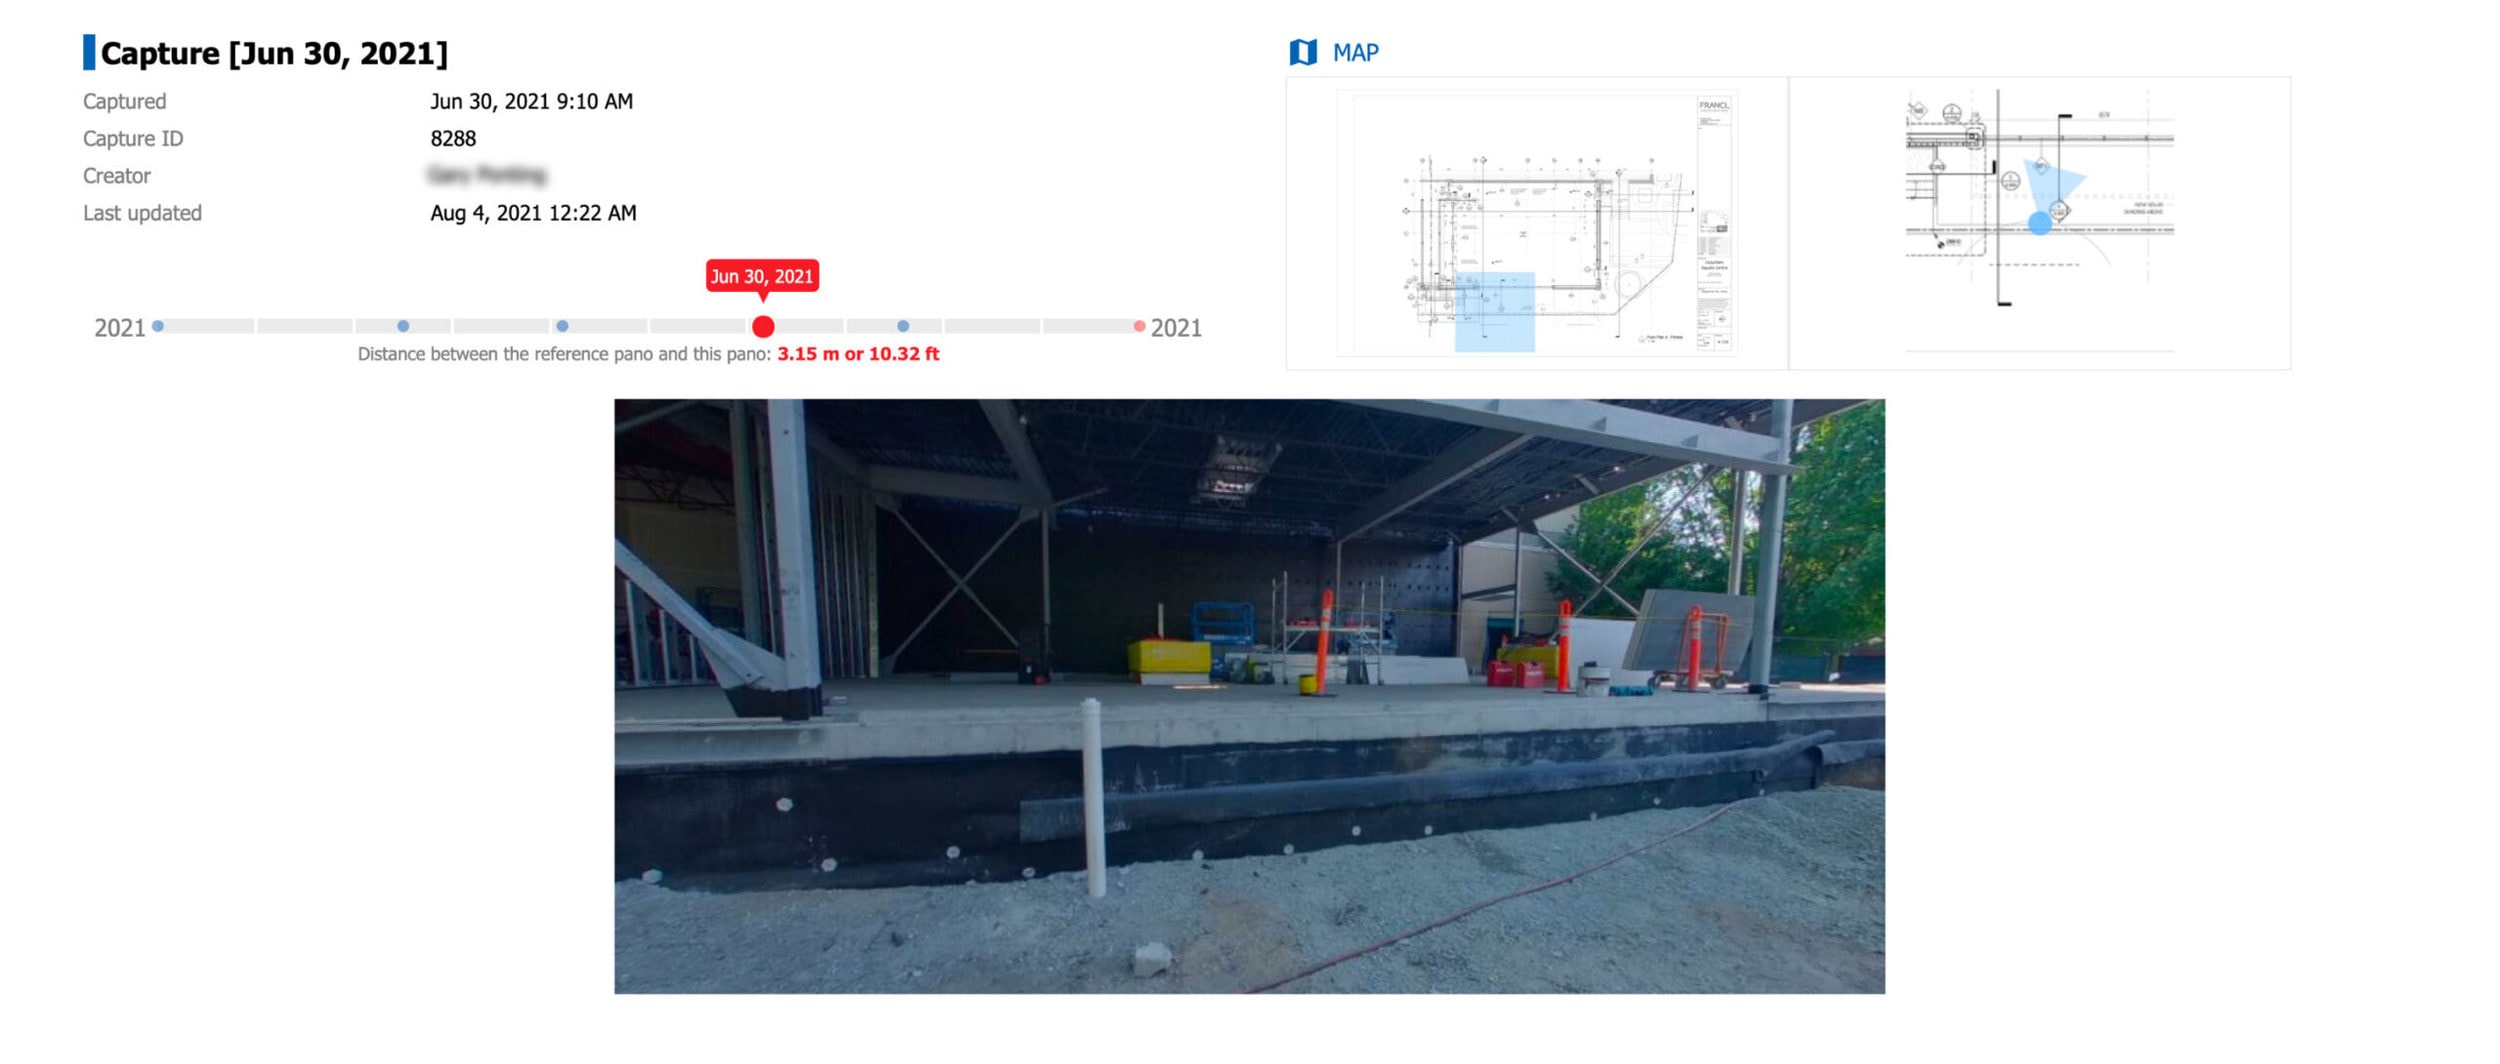
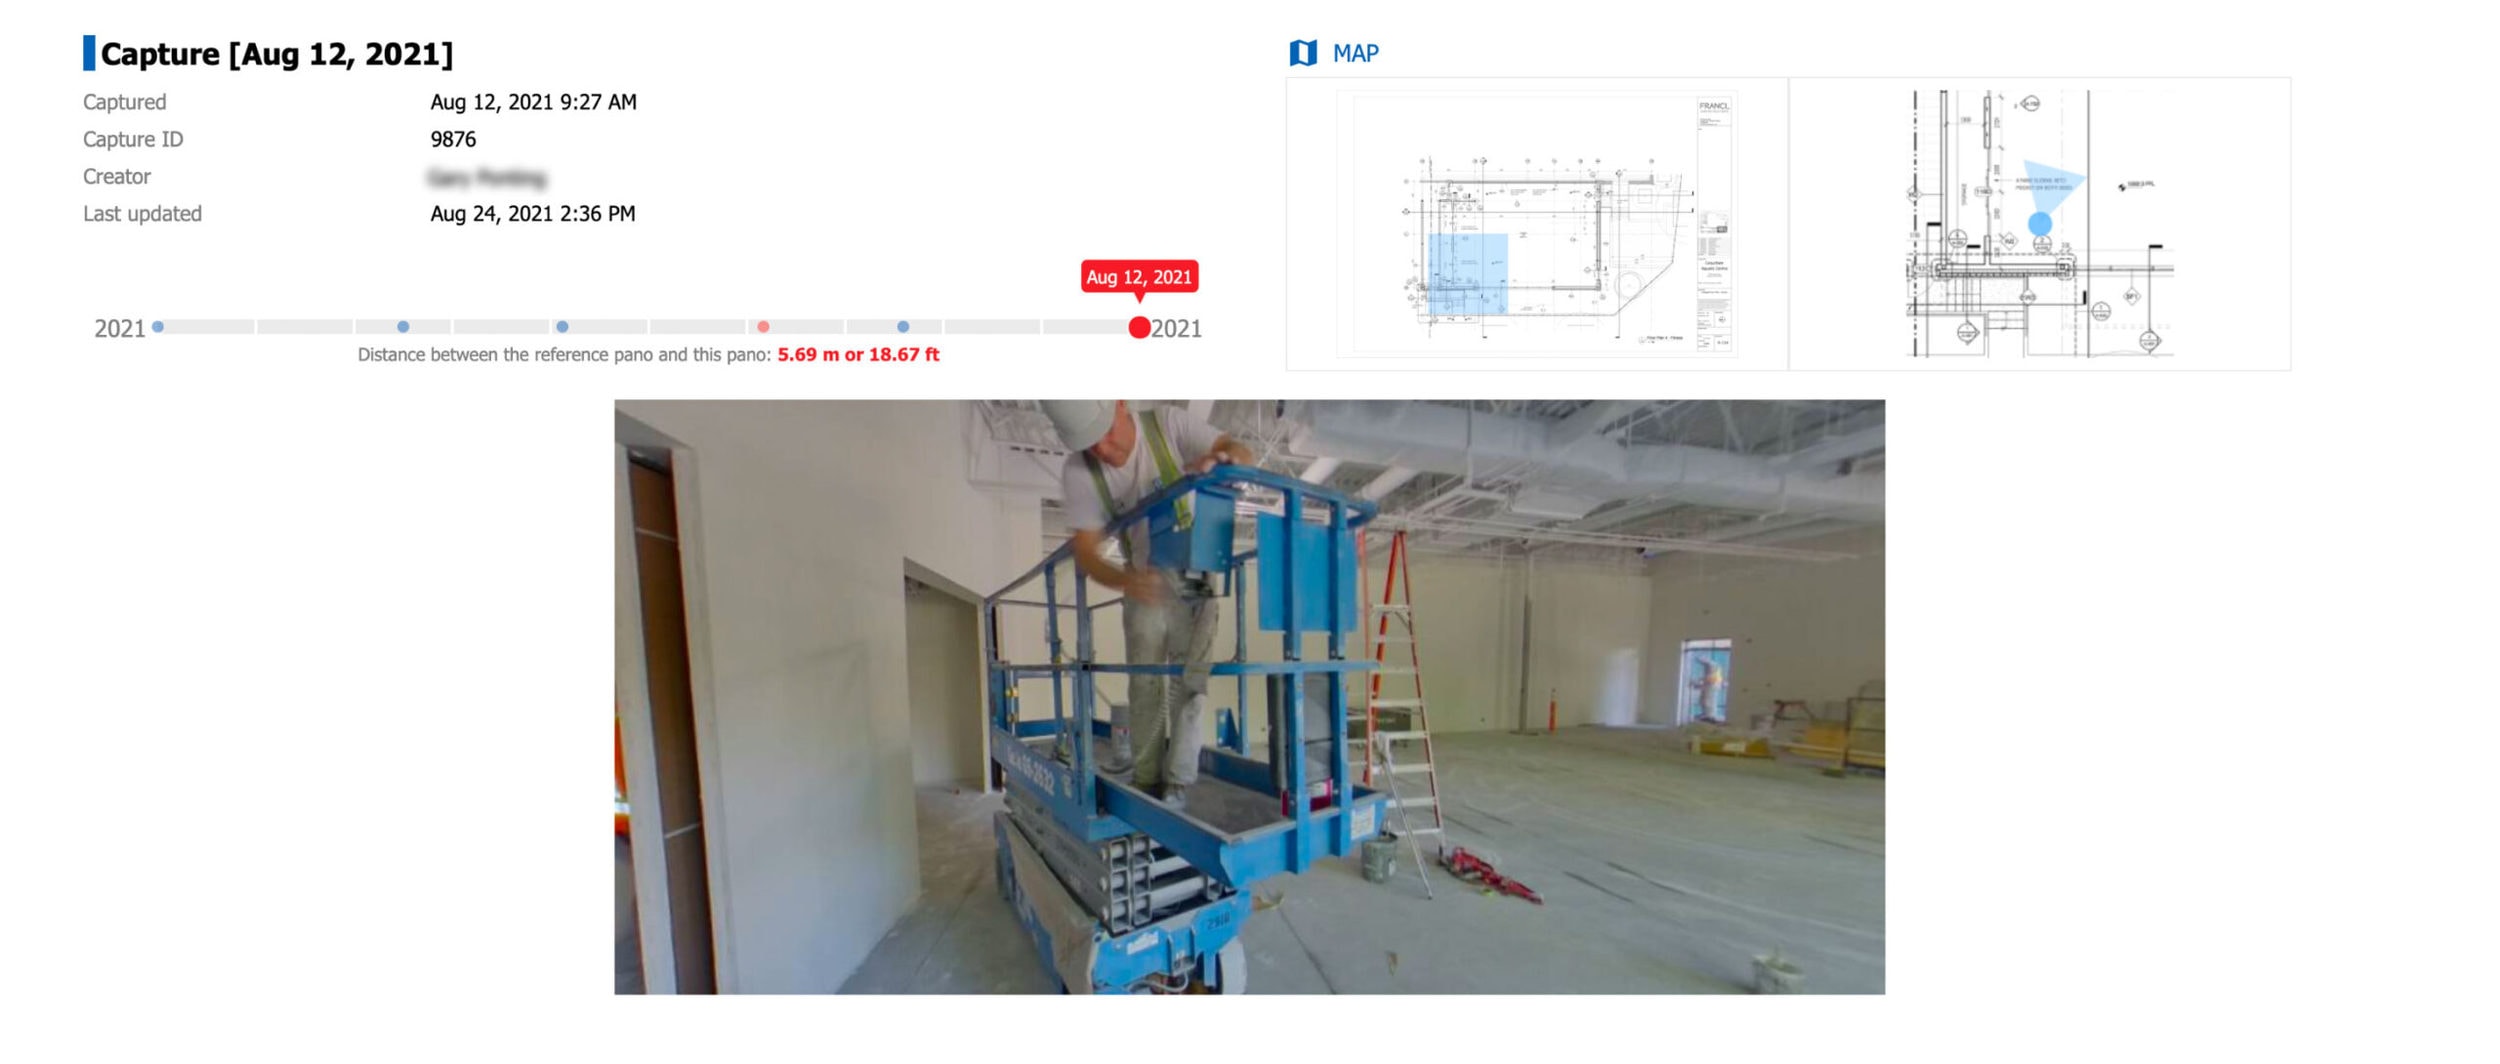
Want to see and compare the construction, repair or installation progress of a specific location in one report in a SiteView? Use Generate Timeline Report to create a HTML file that shows the timeline progression of a specific capture view on different dates in that SiteView.
Here is the process:
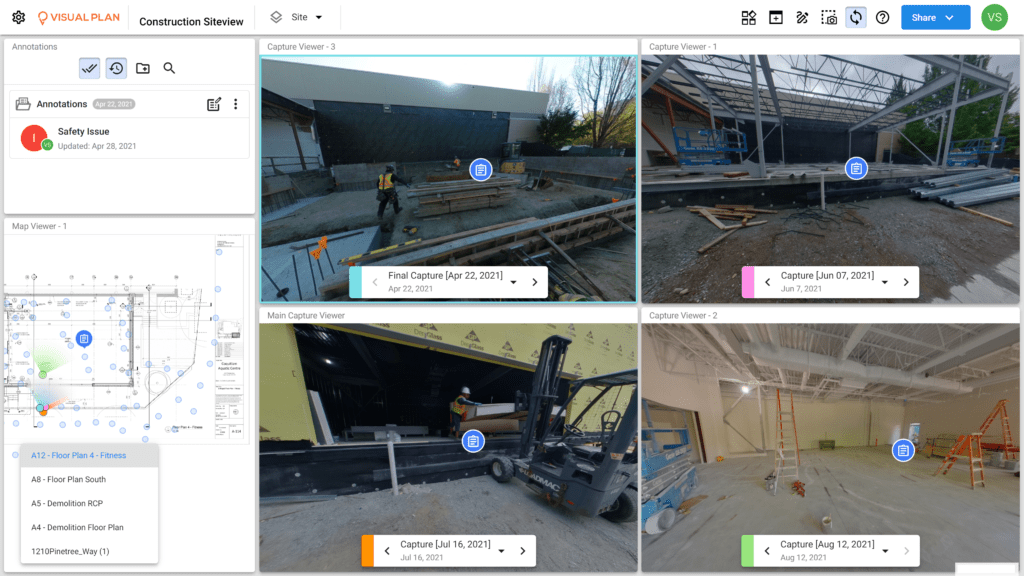
1. Click on the icon.
icon.
2. The Generate Timeline Report box will appear.

Here you can add a Title and Description for your report, and then choose which captures to include in the report:
- Current capture only – This option only shows the date you are currently using.
- Include following captures – This option shows the current date, as well as all following dates.
- Include previous captures – This option shows the current date, as well as all previous dates.
- Include all captures – This option shows the current date, as well as all other dates.
Once you have decided on the option, click the Export button.
3. Depending on the amount of captures, it may take a few seconds or minutes to generate the HTML report. Once done, it will download the report (Screenshot.HTML in this example) into your browser’s download folder location.
4. Click on the HTML file to open it in your default browser.
NOTE: You can print the HTML file on paper or as a PDF file. If you choose the PDF format, make sure that Background Graphics/ Print Backgrounds is checked in the Print Settings of your browser. If not checked, your Timeline report will be missing graphics that show the progression.
